julie-header_zpshsulwtl6
 photo home_zps9vjcvuqz.png  photo contactus_zpspkuylm1n.png  photo aboutus_zpsyueddcnp.png  photo featuredon_zpst6xhuwqo.png
Showing posts with label Tutorial. Show all posts

Tuesday, February 19, 2019

My New Love Of Homemade Vegan Pizza.


The hardest thing about homemade pizza is finding the patience to wait while the dough rises for the crust. But making your own pizza from scratch is so satisfying, tasty, and easy on the budget. Plus, where are you going to find gourmet vegan pizza and know exactly what went into making it? We found ourselves at home on a Saturday afternoon and with the cooler temperatures, having a make your own pizza party was the perfect activity to warm us up and bring some laughter into our household. 

Since my 40th birthday, I'm been making more of an effort to eat a vegan diet so my two pizza's consisted of vegan mozzarella cheese and vegan parmesan cheese. This was the first time trying my hand at vegan pizza, and working with these two cheeses. I wasn't completely sure how the cheese would melt and end up tasting, but I was so happy with the end result. I've linked the cheeses I used at the end of this post that you can purchase on my Amazon site. 

The first pizza, I kept simple with an olive oil base with crushed garlic. I added both kinds of cheese, and during the last five minutes of baking, sprinkled fresh spinach leaves on top. The second pizza I added a fig jam spread for the base, caramelized onions that I made while the pizza dough was rising, both kinds of cheeses, and finished it off with a drizzle of balsamic vinegar after it came out of the oven. Both recipes were so simple and yet so flavorful.


Vegan Mozzarella Cheese - Amazon {here}  ::  Vegan Parmesan Cheese - Amazon {here}

Wednesday, January 23, 2019

Where To Find Quirky Coffee Table Books.


We all love a good coffee table book, and finding the right books that suit your personal style can be difficult. There's your traditional book stores like Barnes & Noble and Books A Million, where you're guaranteed to find something generic and will definitely fill up that blank space on your coffee table. But we personally love books that speak to who we are as individuals. 

Many times finding the perfect book involves searching through bespoke, independently owned shops that don't specialize in books, yet carry unique titles. For example, our Wes Anderson book came from a little furniture shop on a side street in Sag Harbor. We picked it up 4th of July weekend one summer while we were meandering through the area, enjoying the holiday. We purchased a truly unique book featuring art made in North Korea from a pop up shop in Beijing. The images and the content of the book, Made In North Korea: Graphics From Everyday Life In The DPRK are special and not widely available to the public.  

However, it's understandable that a specialty shop in the Hamptons or China may not be accessible to you, and that's where Urban Outfitters comes in. We love picking up unique coffee table books there! This post is not sponsored by them, we just love everything we find when we walk into the store and browse through their home goods section. I've linked their books at the bottom of this post.


Rug - Overstock {here}  ::  Couch - World Market {here}  ::  Coffee Table - World Market {here}  ::  Wood Planter - Target {here}  ::  Lamp - Target {similar}  ::  Wes Anderson Book {here}  ::  Stephen Colbert Book {here}  ::  Made In North Korea: Graphics From Everyday Life In The DPRK {here}  ::  Urban Outfitters Coffee Table Books {here}  ::  Cacti Book - Urban Outfitters {here}  ::  Houseplants Book - Urban Outfitters {similar}  

Thursday, May 29, 2014

Tips For Making Your Own Crown Out Of Lace.


There are so many tutorials floating around on the internet so I thought this was going to be a pretty simple project. I was wrong. This isn't particularly a tutorial, as much as it is just tips for making your lace crown making process a little easier. It took us a couple tries {and a couple failed crowns in the garbage bin} to get the whole process right. So without further ado, here are our tips that worked for us:


  • The colors of the princess party, we were making the crowns for, were purple and white. We discovered that the color of the lace you use doesn't really matter. We purchased lavender colored lace but once you add fabric stiffener to the lace, it changes the shade and you will want to paint over it again with the proper color.
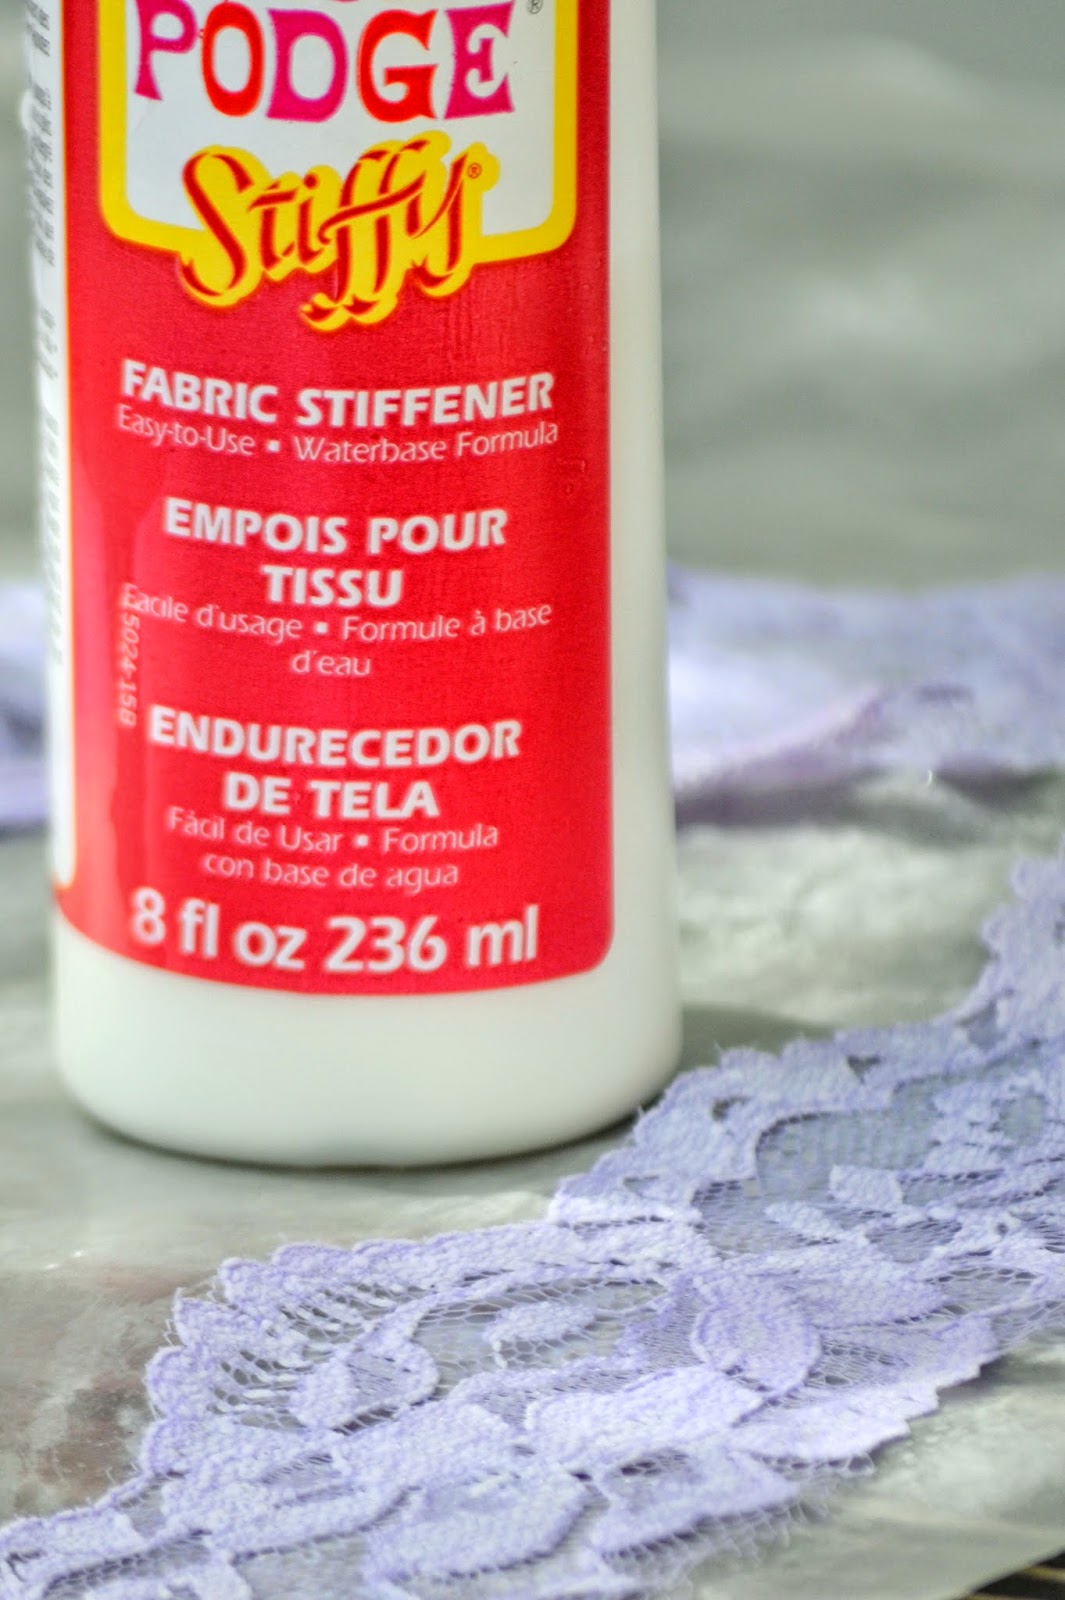
  • It's important to apply a thin coat of fabric stiffener. On our first attempt we doused the lace in the Modge Podge and ended up having wax paper stuck to the lace, which we couldn't remove once it had dried completely. Applying a thin coat of fabric stiffener also allows the detail of the lace to not get lost.
  • We stacked two layers of the same lace, but we prefer the look of two different laces together. The pattern difference with the two laces provides a depth to the crown that we didn't achieve using one lace pattern.
  • Take your time. In general, I struggle with patience, but it really does pay off when making a crown out of lace.We applied a couple coats of fabric stiffener and waited until the first coat was completely dry before we added the next coat.
 

Friday, May 16, 2014

Custom Cake Topper.


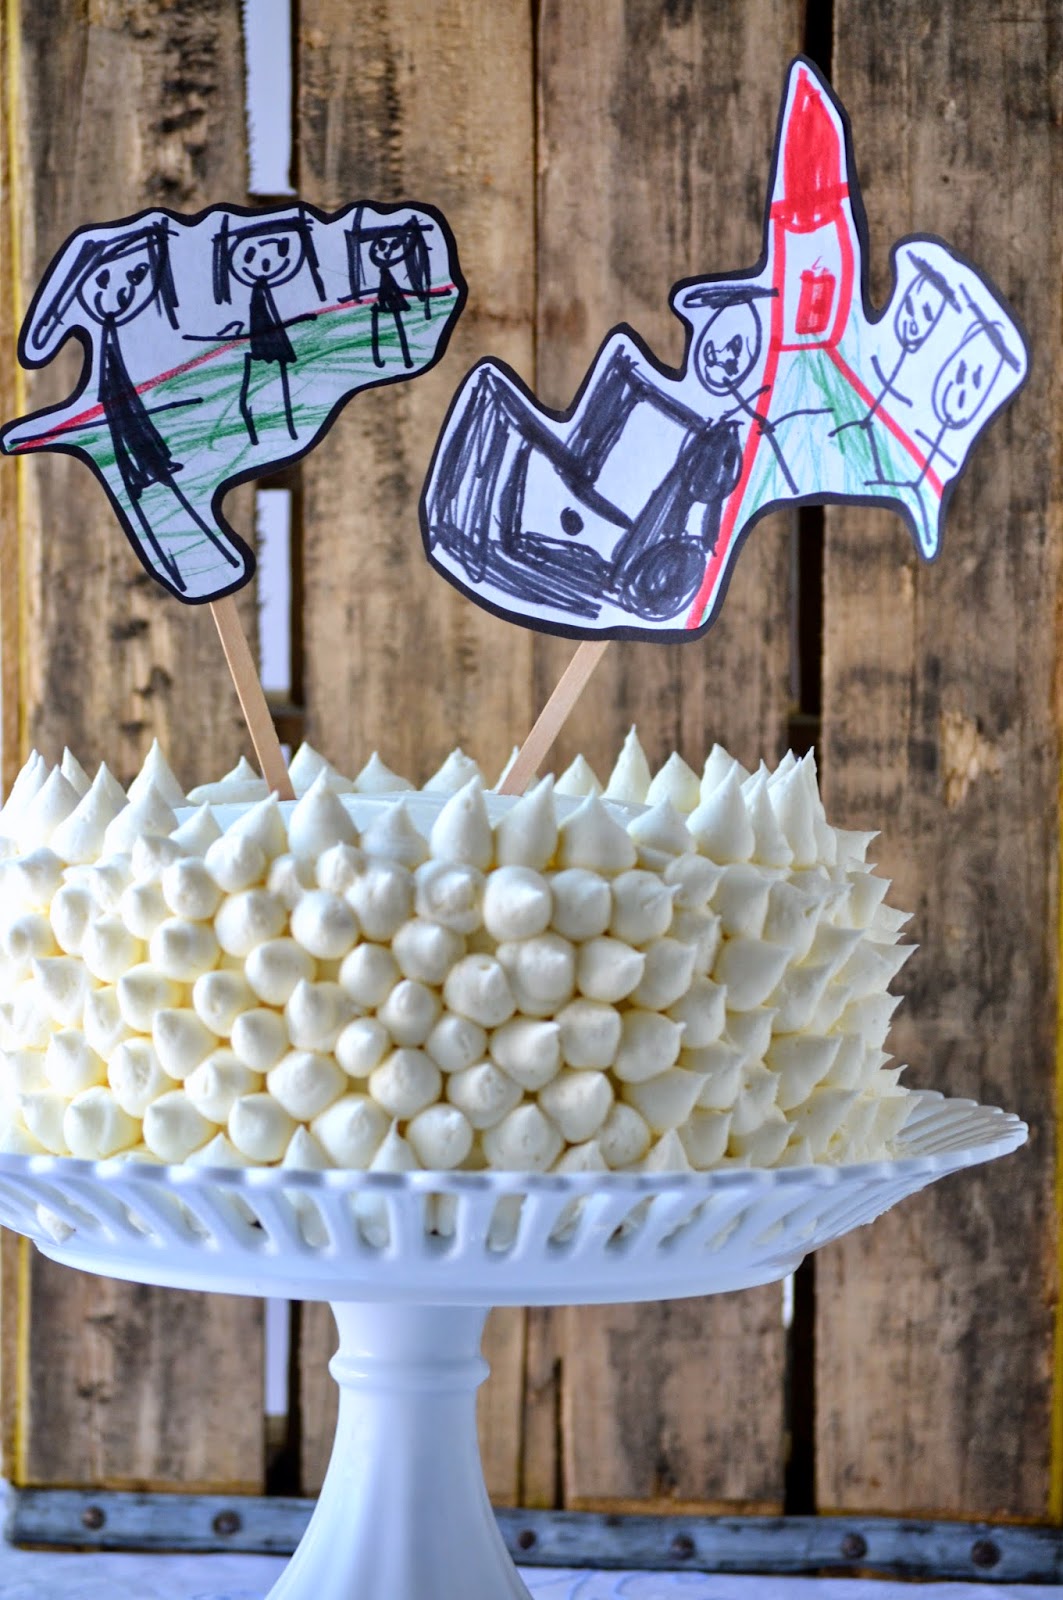
Any party that is personalized means so much to the individual person you're celebrating. For this particular cake order, we had a special little girl in the recipient's life draw the cake topper for this cake. Granted, the little girl is young and it's reflected in the art work; but love is also reflected in the art work. She drew each member of her family, along with a train and a rocket ship. We glued her drawings to black card stock which we then attached to wooden sticks. Simple. And personal.  


Friday, February 14, 2014

Heart Shaped Pinata.


Happy Valentine's Day to you!!! We love our kid's teachers and feel so blessed to have them impacting their lives on a daily basis at school. As a way to say thank you to them this Valentine's Day, we gave them heart shaped pinata's filled with candy.


By recycling old cereal boxes, we cut the cardboard into the shape of a heart. Then using tissue paper we used our fringe scissors to cut three different patterns of paper. We filled the heart with kisses and my children wrote a special note that we placed inside as well.

Sunday, December 8, 2013

Rudolph The Red Nosed Reindeer.


My father-in-law is an avid hunter during deer season. This holiday I asked him if he had an extra pair of deer horns that I could decorate. He readily obliged, and generously gave me pick of what he had on hand. I gave him fair warning that I might end up painting them white and covering them with glitter. He was on board with everything I suggested, so with his blessing, I chose these beautiful antlers.


Using a blank canvas, I added double sided tape. It was a little difficult to get the one side to stay in place on the canvas, but adding the silver glitter helped anchor it in place. The difficult task came when I wanted to anchor the antlers onto the canvas without having them pull on the canvas which would stretch it out. My assistant and I ended up drilling the antlers onto the canvas and then gluing them into place. I chose to keep the antlers in their original form, because I liked the contrast of their natural beauty on the canvas. We're hoping to use this piece of art work in an upcoming holiday party.


Thursday, December 27, 2012

Christmas Star Crown.


How fun and festive for the Christmas season. Star crowns. As soon as I saw them online, I knew my own daughter would love having one, and I thought it would make for fun Christmas gifts as well. I went simple in my whole design process.


I simply cut white stars out of card stock paper. Used a paint brush to apply regular Elmer's glue to the stars. Added my glitter. Glued the stars to white ribbon.


They look so sweet in a little girl's hair. These stars would also make pretty festive trim (ribbon) on top of a wrapped Christmas present. Make a garland long enough and add it to your Christmas tree. Use the garland for your mantle place. Hang a cluster of stars from your windows for an instant festive touch. There are endless possibilities to what you might use these star crowns for.


Blogging tips